Products You May Like
How to Draw a Lion – The best thing about drawing is that it very well may be learned through… drawing. In this instructional exercise, I will tell you the best way to draw a reasonable lion without an excessive amount of hypothesis or clarifications—simply a bit-by-bit process that will show you a couple of valuable things by drawing creatures without any preparation. You can likewise utilize this procedure to draw other huge felines!
A Warm-Up
Before we start, how about we investigate a few lions to get what we’re going for:
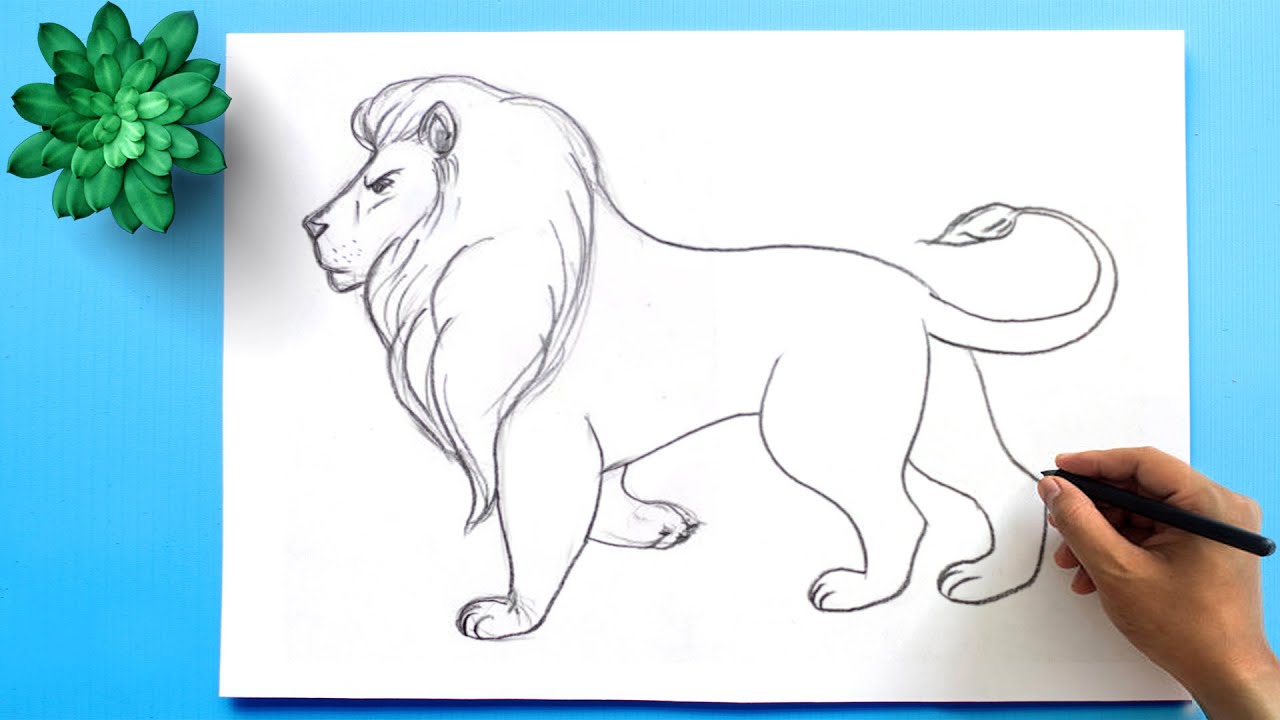
- Full body lion
- Thundering lion going on the defensive
- Closeup of lion paw cushions
-
Step by step instructions to Draw a Lion’s Body
Stage 1
Draw an even tear shape. This will be the chest and tummy of our lion.
lion chest drawing
Stage 2
The chest closes with the shoulders toward the front.
lions shoulders drawing
Stage 3
Presently add the back to complete the principal body.
lion rear end drawing
Stage 4
To accomplish the right extents of the legs, we want to track down the level of the ground first, For the most part, a standing lion has one tallness of its middle between the paunch and the ground, yet I need to make a marginally hunkering present, so I set the ground higher.
lion extents
Stage 5
Before we add the appendages, attract the hips to the back.
lion hips drawing
Stage 6
Draw every one of the legs and the tail. You don’t have to incorporate any subtleties—simply catch their musicality.
lion legs drawing
Stage 7
To make the head corresponding, utilize the length of the shoulders as an aide. The head will be as long, and the neck can be marginally more limited than this.
lion head neck extents
-
Step by step instructions to Draw a Roaring Lion’s Head
Stage 1
Draw the fundamental piece of the skull. It’s made of the upper jaw and the braincase.
lion skull drawing
Stage 2
Draw the lower jaw pivoting from the lower part of the braincase. Its length can be characterized by envisioning it moving towards the upper jaw.
lion open mouth drawing
Stage 3
Finish the lower jaw.
lion lower jaw open
Stage 4
Add the subtleties of the skull that will be significant for the remainder of the life systems: the eye attachment, the cheekbone, and the emptiness of the nose.
lion skull drawing
Stage 5
Time for the teeth! They shouldn’t be definite, however, ensure the lower canine goes just before the upper one.
lion teeth drawing
-
Step by step instructions to Draw Realistic Lion Anatomy
Stage 1
How about we add the paws now. Start with the “external” toes—they’re near the foundation of the paw, and they have a precarious outline.
lion paws drawing
Stage 2
Draw the internal toes now—not a lot bigger, but rather projecting and heading down the other way.
lion paws drawing
Stage 3
Add the paw cushions.
lion paw cushions drawing
Stage 4
The joints are extraordinary physical tourist spots, and if we set them appropriately, the lion will look right even without itemized muscles. Start with the wrists…
lion wrists drawing
Stage 5
… furthermore the lower legs. They’re very perplexing:
lion joints Drawing
Stage 6
Presently, cross the elbows and knees with lines.
lion knees elbows drawing
Stage 7
Add tight ovals on the inward side of these lines. These will be the elbows and the kneecaps.
lion knees allows detail drawing
Stage 8
Add bends on the two sides of each joint. This will be a decent base for the muscles.
lion joints subtleties drawing
Stage 9
At long last, add the tops of the shoulder bone and the thigh bone.
lion bones drawing
-
Step by step instructions to Draw a Lion’s Muscles
Stage 1
We have an extraordinary base for a sensible lion, so presently we simply need to follow it. In the first place, draw the large cheek muscle between the jaws.
lion jaw muscle drawing
Stage 2
Place the nose inside its pit, and the eyeball inside the attachment.
lion nose
Stage 3
The region with the bristles is hauled towards the eye by muscles when the lion is thundering. This will allow us to see the teeth.
lion stubble muscle drawing
Stage 4
To draw the ear, first, draw its base…
lion ear drawing
… then, at that point, draw its sides, collapsing it however you see fit.
lion ear back drawing
irate lion ear drawing
Stage 5
Cover the paws with hiding, making them delicate and round. Remember they get pretty level toward the front assuming that the lion is showing its hooks.
lion shaggy paws drawing
Stage 6
Presently, an ideal opportunity for the genuine muscles of the body. Associate the wrist with the elbow region, and the lower leg with the knee region.
lion lower arms drawing
Stage 7
Add the shoulders and the thigh.
lion thigh shoulders
Stage 8
Close the state of the appendages by adding more muscles:
lion muscles drawing
Stage 9
Finish the paws:
- lion feet drawing
- lion paws subtleties
Stage 10
Layout the entire outline dependent on the shapes we as of now have.
lion body drawing
Stage 11
We have the body of a strong huge feline, yet it looks more like a solid lioness than a lion. We should add the mane! Start with little tufts of hair to a great extent…
lion mane tufts
… then, at that point, add a ruff around the head.
lion ruff
At last, cover the entire neck with long, cushioned hair.
lion mane Drawing
-
Instructions to Draw a Realistic Lion
Stage 1
How about we finish this image! Draw the subtleties of the face. Notice how the skin gets creased over the muscle pulling the hairs back. This will add to the furious articulation of the lion. Keep the eye open—this is how a lion attempts to threaten its adversary. Assuming that you make the eyes shut, it will look like yawning or sniffling!
lion face furious drawing
Stage 2
Draw the blueprint of the mane with light, wiggly lines. Attempt to draw tufts rather than the single hair.
lion mane cushy
Stage 3
Draw the remainder of the mane, again drawing tufts, not hair. Attempt to contemplate the shadows between the tufts, to uncover them on the other hand. You can look further into drawing hide here:
Surfaces
The most effective method to Draw Fur
reasonable lion mane drawing
Stage 4
Add the subtleties to the paws.
sensible lion paws drawing
Stage 5
Step the back and the tufted tail.
practical lion tail drawing
Stage 6
Layout the remainder of the body. Remember every one of the pieces of the body is covered with one piece of skin, and along these lines, they ought not to be illustrated independently.
sensible lion drawing
Stage 7
Add the unobtrusive diagram of the muscles. This isn’t required, yet it will assist with adding some volume to the body
lion muscles diagram
Stage 8
At last, eliminate the rules and tidy up the drawing.
lion drawing clean
Go ahead and add some concealing also.
instructions to draw a reasonable lion
Good Job!